Can a steak cooked on the stove have the same smoky flavor and the char that a charcoal grilled steak has? Never! Can a stove top steak be just as juicy, tender and flavorful? Absolutely! As a matter of fact, as the temperature on the stove is easier to control, it’s that much easier to consistently cook a perfect steak indoors.
Picking the best meat for a stove cooked steak
Pick whatever cut you like. I don’t particularly like cooking fattier steaks, like rib eye, on the stove. The fat creates a lot of smoke. Those are best cooked outside. Leaner steaks -like trip loin, t-bone, and tenderloin – are better suited for stove top cooking. Choice-grade steaks are great and are reasonably priced. USDA Prime or Certified Black Angus steak is better, though more expensive. If possible, spring for Prime or Certified Black Angus. Make sure the steaks are between 1 1/4 and 1 1/2 inches thick. Thinly cut steaks will dry out very easily and are practically impossible to cook perfectly, especially on the stove. Trim off excess fat. The fat adds flavor, but when cooking a steak indoors over high heat too much fat can create quite a bit of smoke in the kitchen. Regardless, make sure you have the range hood on when cooking your steak.
Seasoning your steak (start well in advance)
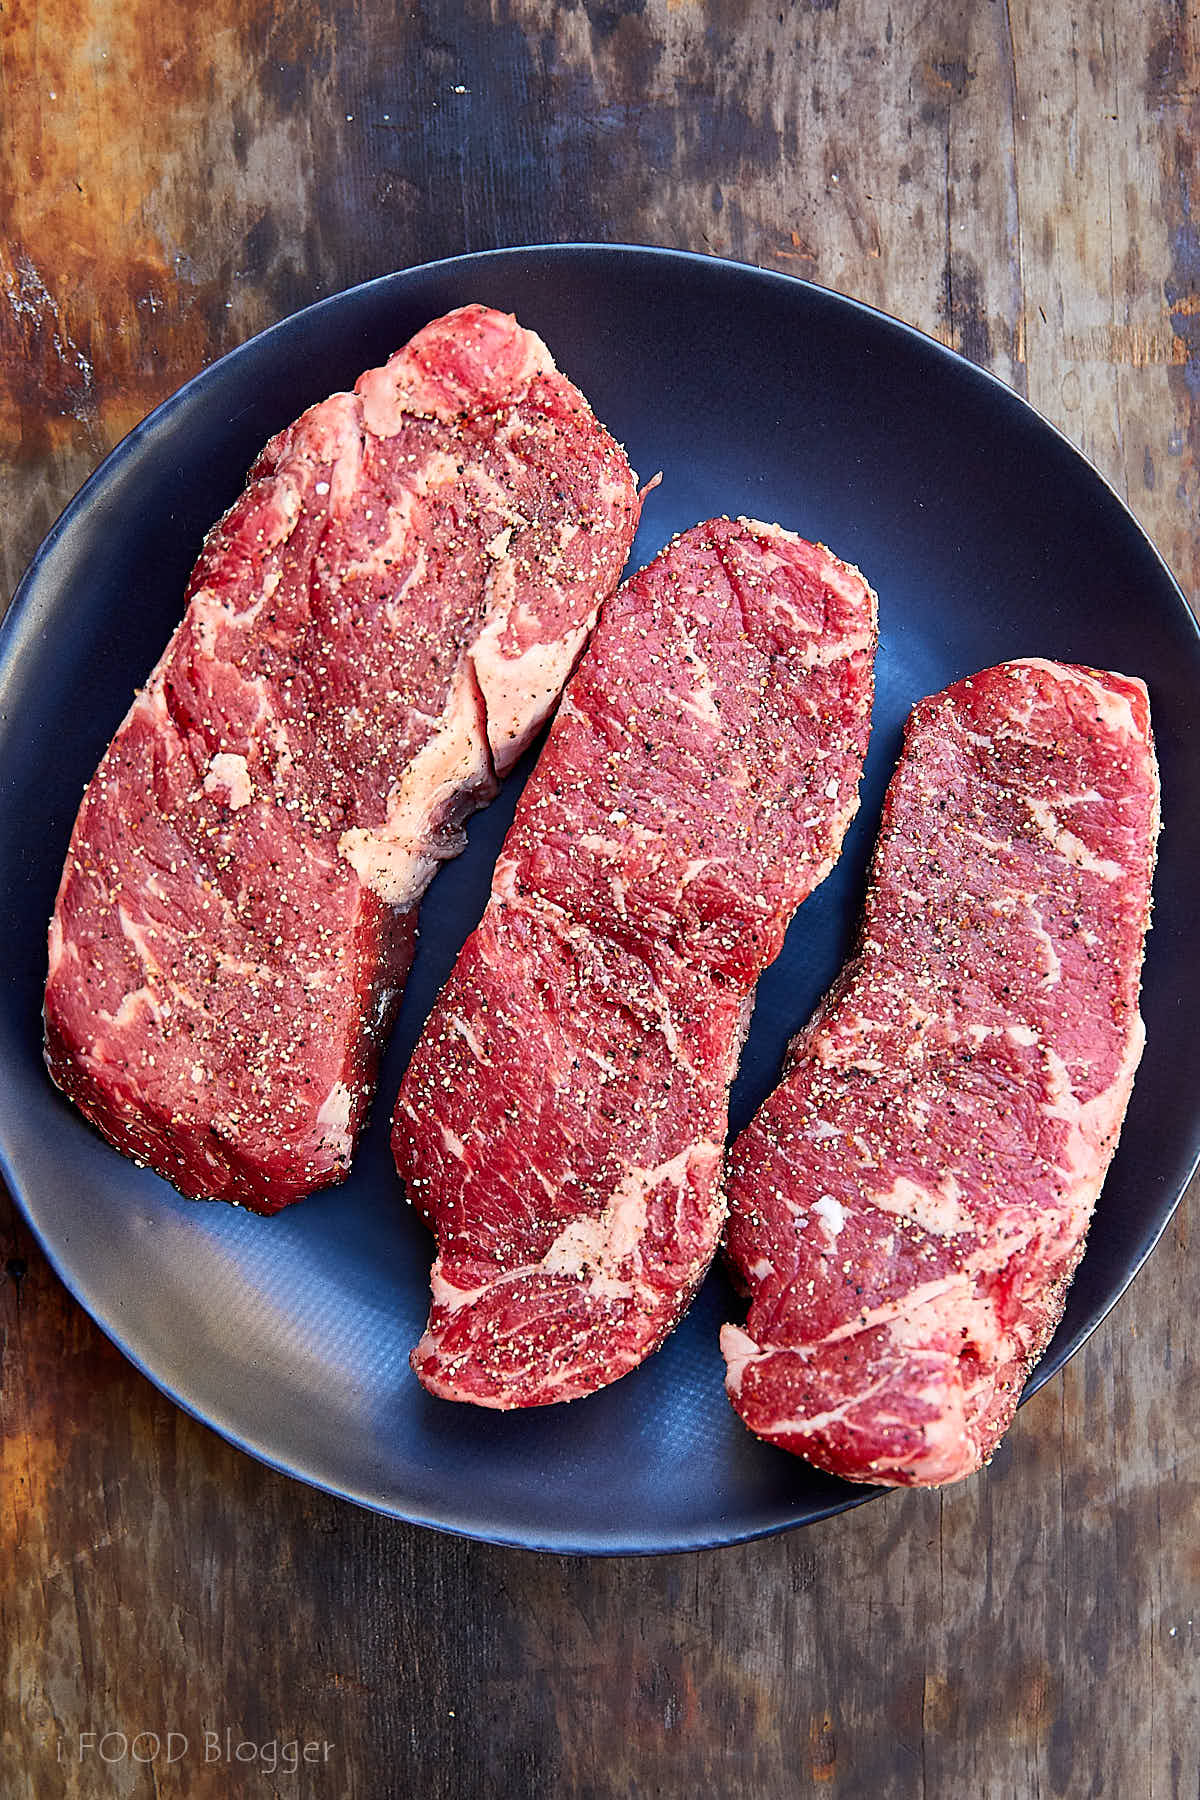
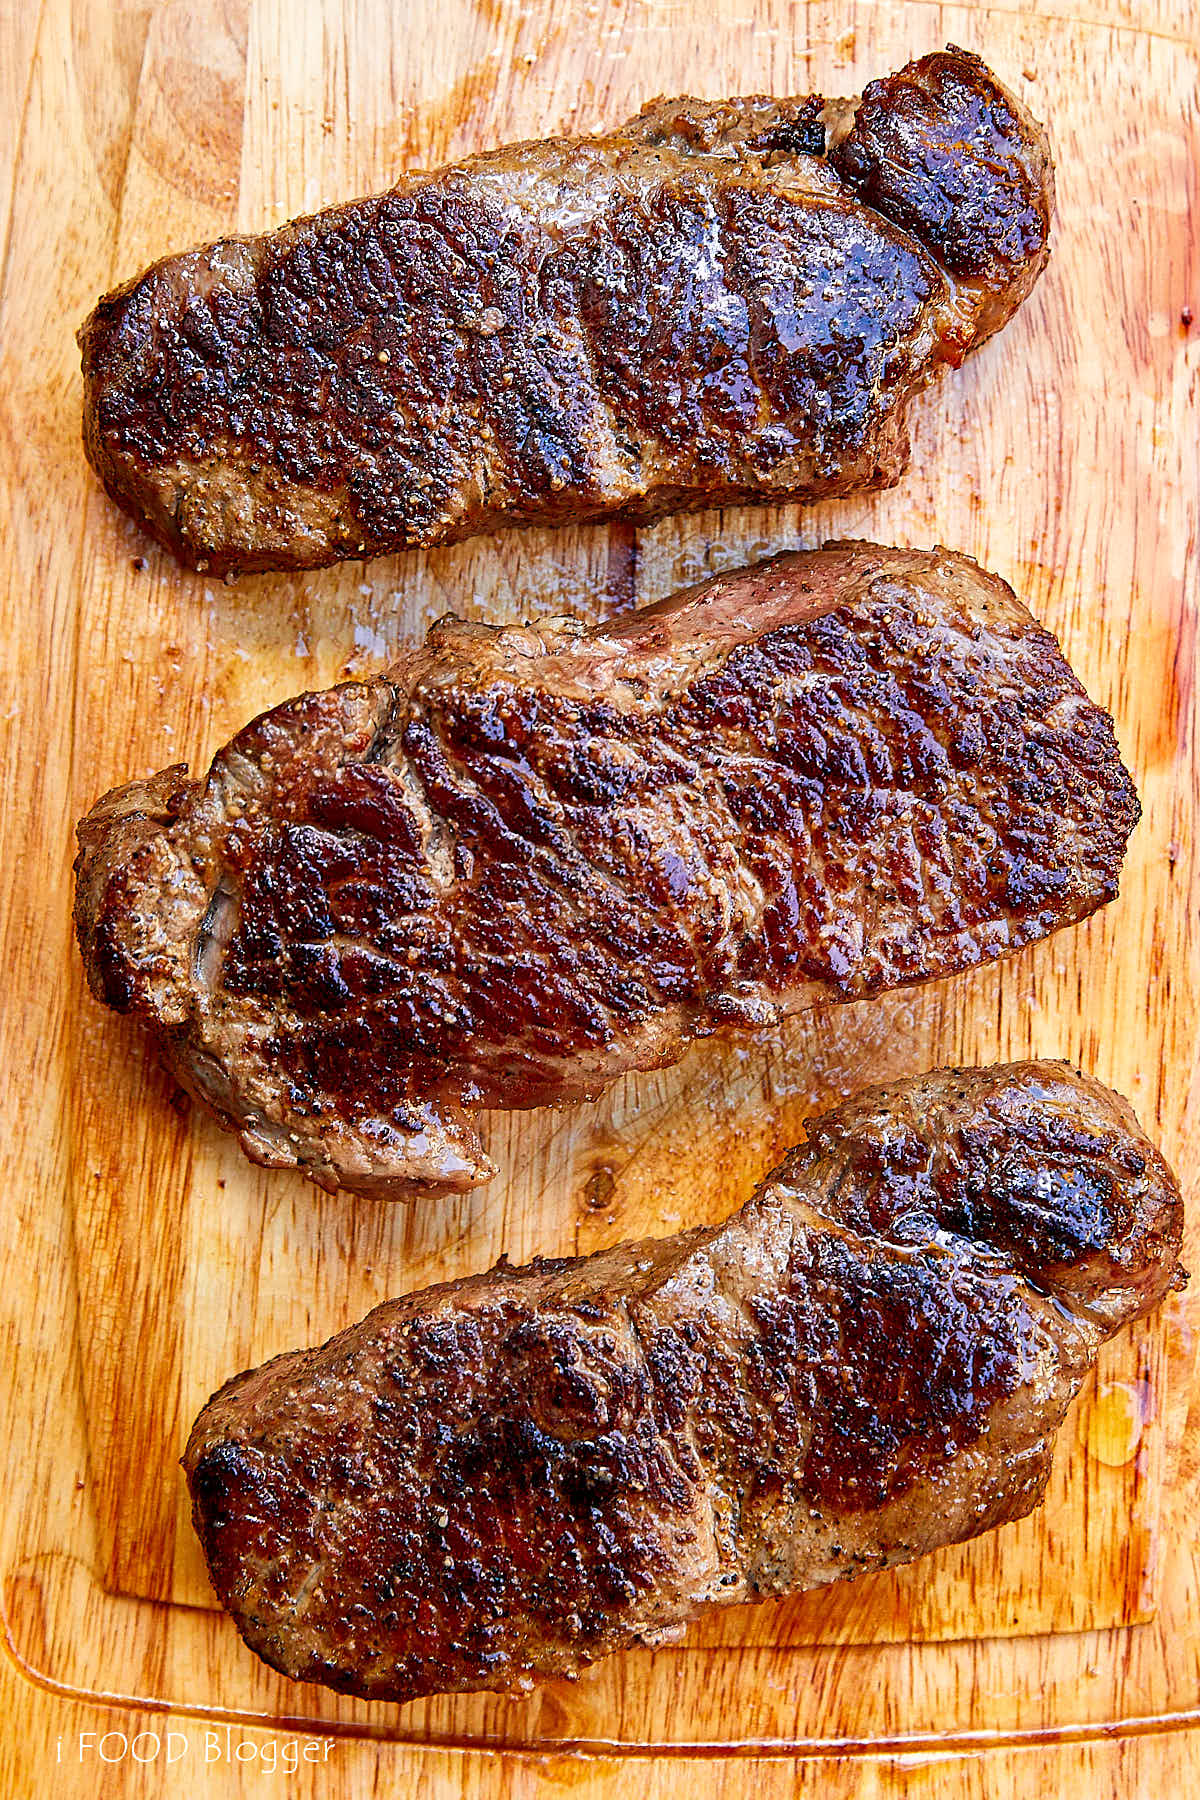
A good steak does not need much seasoning. Coarse salt and pepper is all that is needed. You may add little bit of garlic or onion powder, but just a tiny bit, don’t overdo it. There are two ways to season your steak to get the best results. Which one you pick mostly depends on how much time you have before cooking. Here are my striploin steaks after spending two days in a fridge. They have a perfectly dry surface and they are nicely tenderized and seasoned inside. They also lost some water which made them have a richer tastes. Essentially, they dry aged for two days.
Bring the steak to room temperature
Take your steak out of the fridge about 45-60 minutes before cooking to bring it to room temperature. This will allow it to cook more evenly. If seasoning right before cooking, pat dry with a paper towel just before seasoning. Wet surface will not get properly browned and caramelized.
Searing the steak
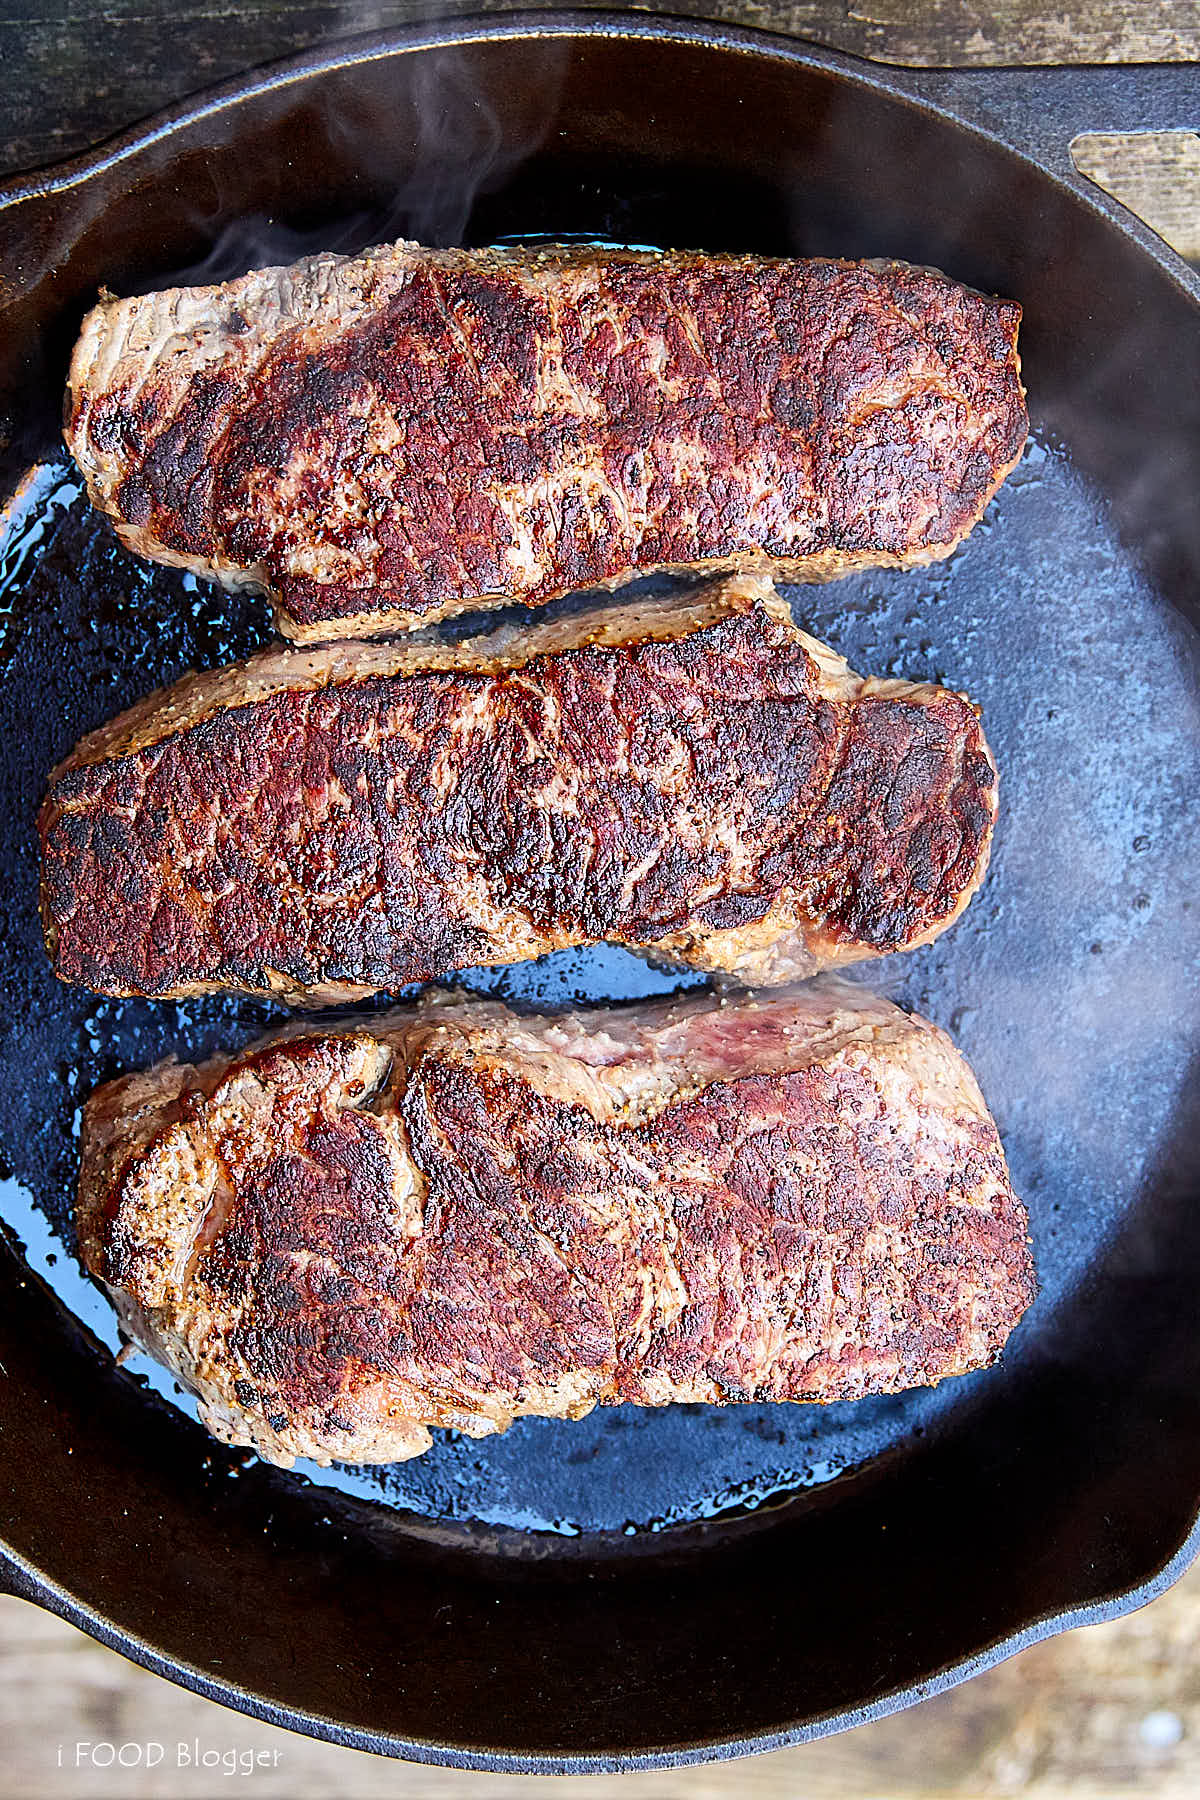
One of the best ways to cook a steak indoors is to start with searing it on cast iron pan. Preheat a seasoned cast iron pan to about 350F – 400F. I used to recommend 500F but not any more. You get too much smoke and the meat burns at 500F. I get much nicer browning at about 350F. Do not use nonstick pans as they start releasing toxins when heated to high temps. They also warp. An infrared thermometer would be very helpful at this point. If you don’t have one, place a few drops of canola oil in the pan. Semi-refined canola oil’s smoke point is 350F. Or use butter. Butter starts smoking at about 350F. Refined canola oil starts smoking at 400F so you can use that too. As soon as you see it smoking, the pan is ready for searing. Sear the steaks over for 2 minutes. Flip on the other side, and sear for another 2 minutes. Do not touch them before the 2 minutes are up. The steaks will stick to the pan initially but will release themselves after a proper sear which is about 2 minutes.
Rest your steak before finishing in the oven
This step is somewhat unexpected and not typical, but very crucial. I learned about it just recently and it made a dramatic difference to how my stove top steaks taste. Before you finish cooking your steak in the oven, transfer it to a plate, cover with aluminum foil and let it rest for 20 minutes. The reason is that meat is mostly muscle that will contract and tighten during the searing process. For a tender, juicy steak, you must let the muscles in the meat relax before you cook your steak at a lower temperature. When in a rush, I reduce the rest time to 10 minutes and it still makes a huge difference.
Finishing your steaks in the oven
While it’s possible to fry a perfect steak entirely on the stove top, it’s not that easy and not necessary. A far better method is to finish cooking the steak inside the oven. Before you start searing, preheat the oven with a baking sheet lined with aluminum foil to 410F. Transfer the seared steak after a 10-20 minute rest to the hot baking pan.
Optionally, you may add a pat of butter on top of each steak for a richer flavor.
Cook for 10 to 14 minutes, until the desired doneness is achieved, flipping the steaks halfway through the baking and basting it with juices.
Checking for Doneness
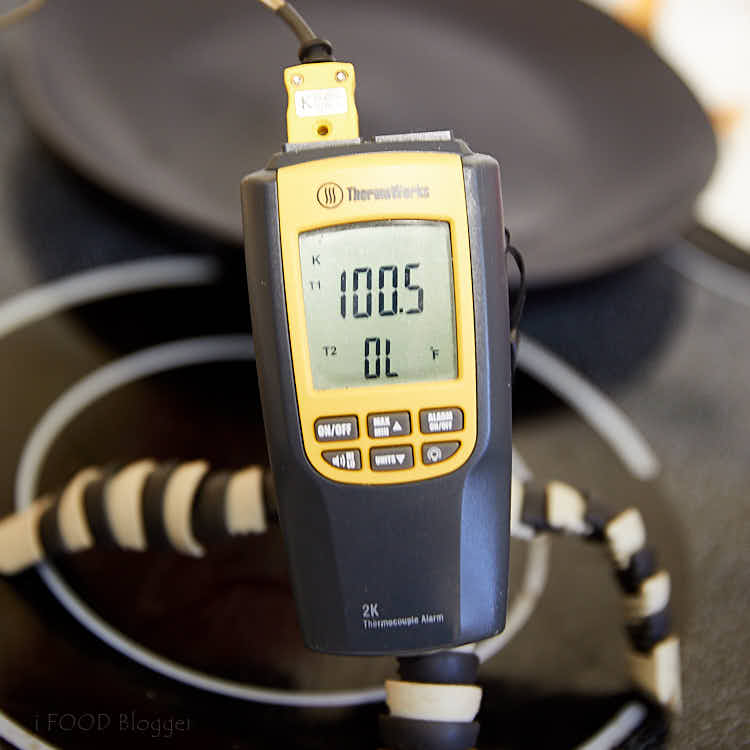
After about 9 minutes the steak will be rare to medium rare and this is a good time to check for doneness. The most accurate and reliable way is to use an instant thermometer, or a BBQ thermometer. A BBQ thermometer is ideal as it will alert you at the exact time when your steak reached the desired donness. No more over cooked steaks. I use my old ThermoWorks BBQ thermometer in the kitchen all the time now. I just love the convenience and stress-free cooking it promotes.
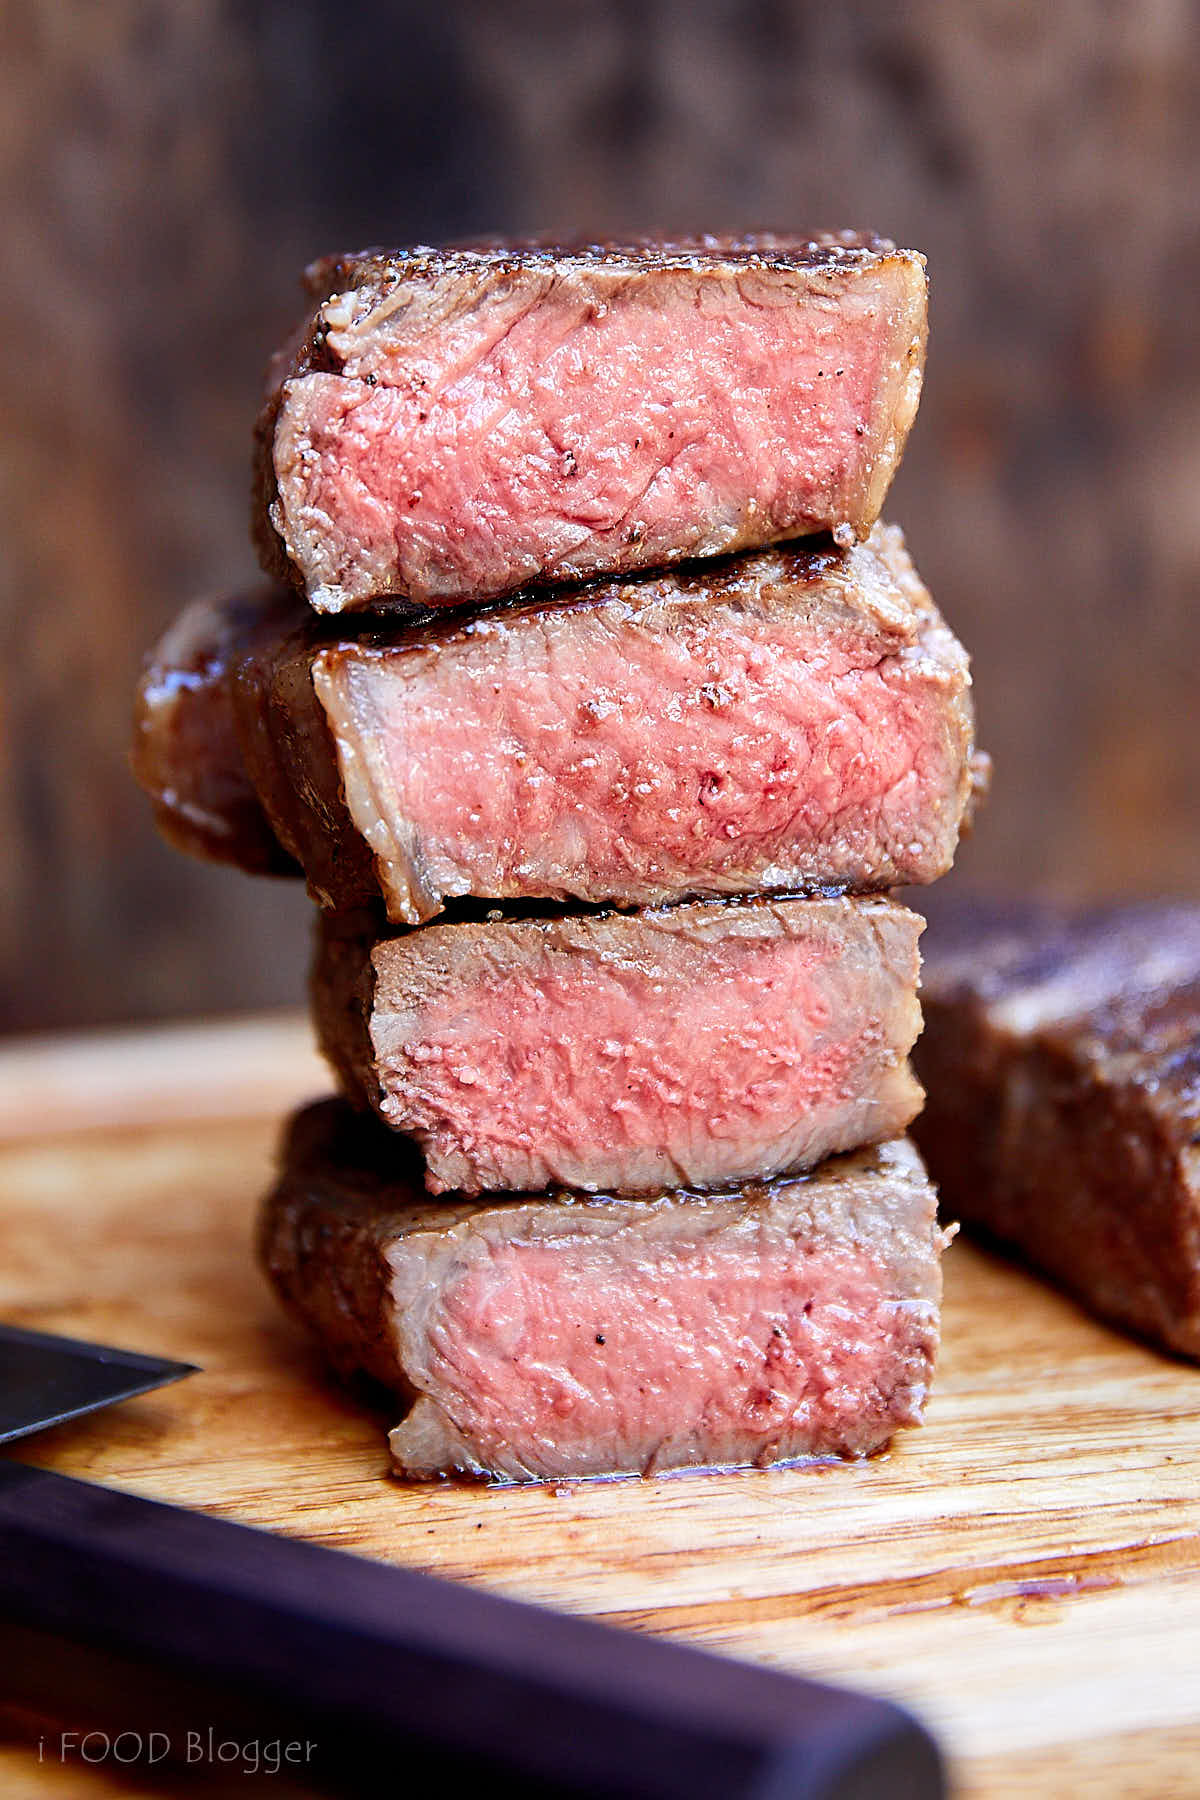
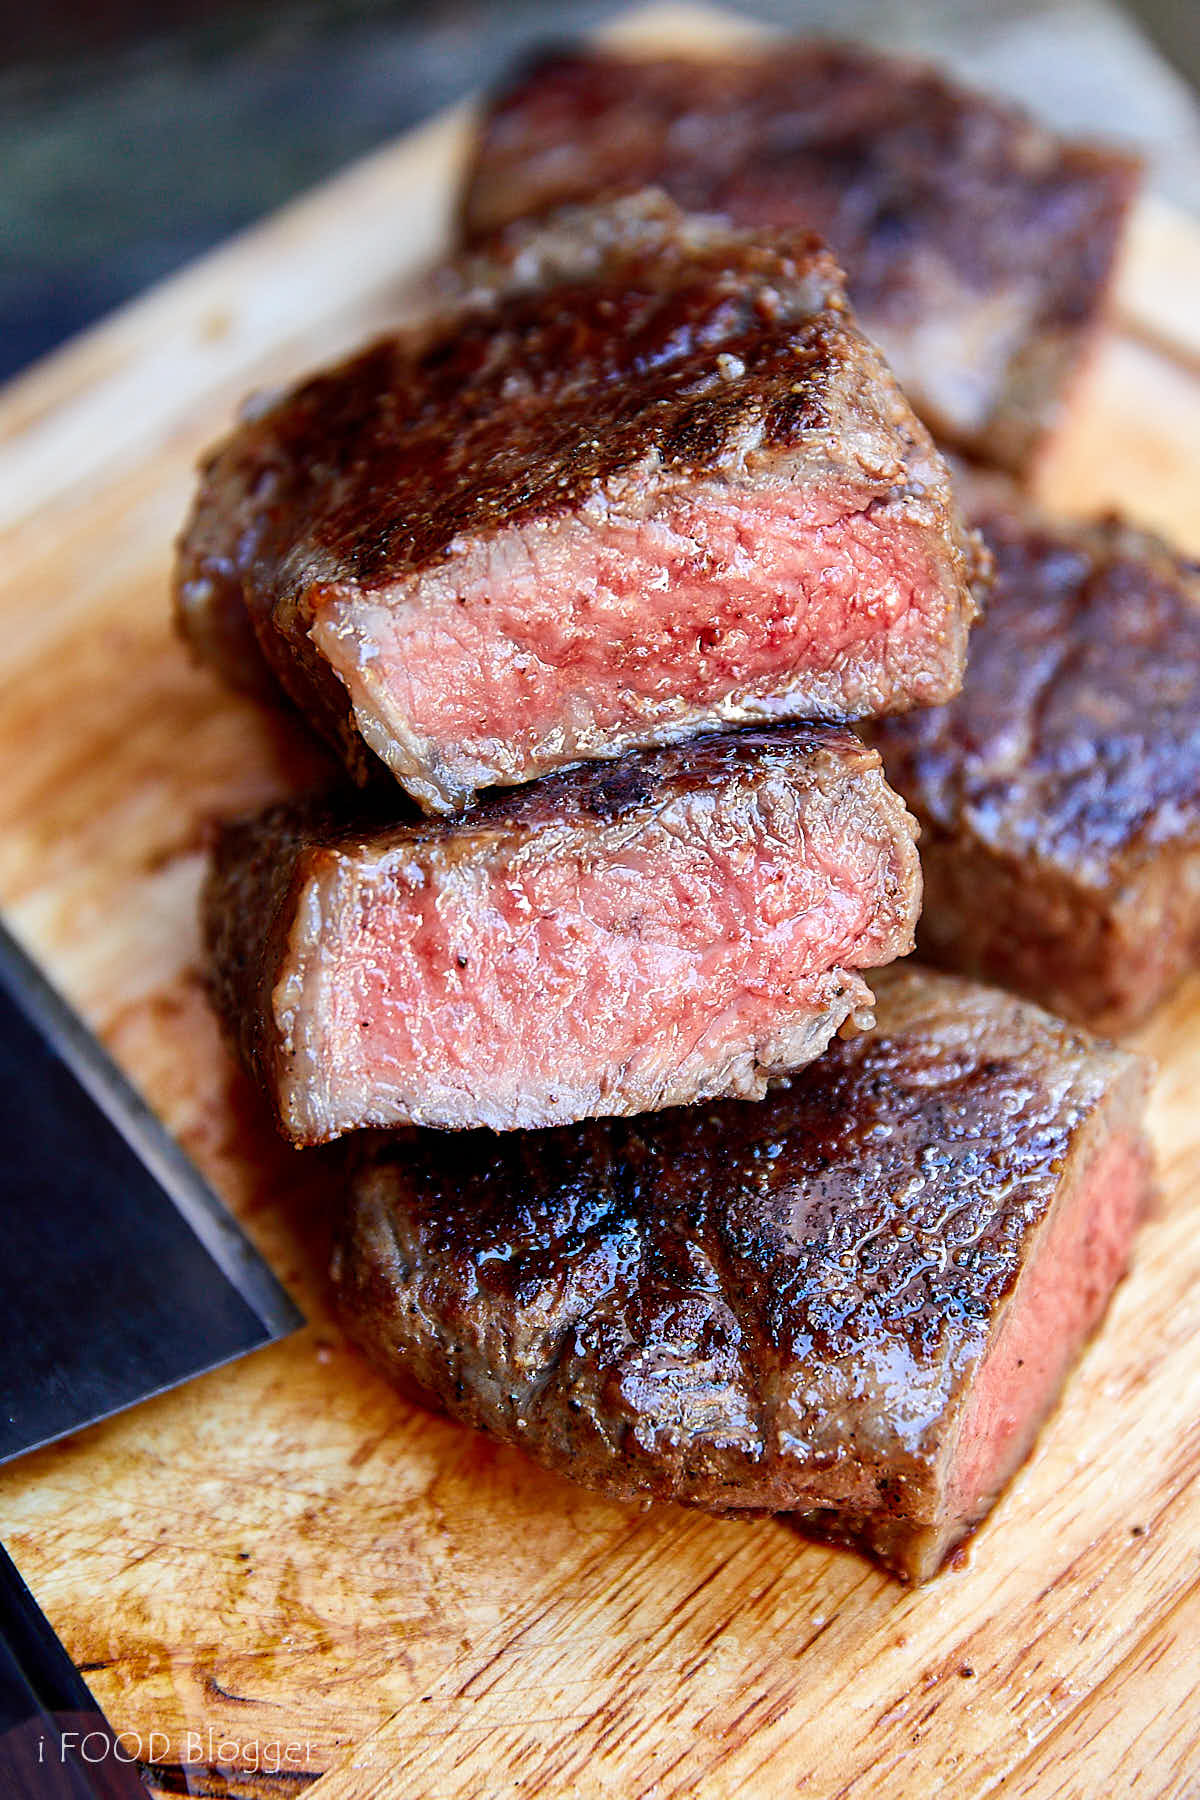
If you want to imitate the results of the pros at your local steakhouse, below is the table of temps that summarizes the target temperatures very nicely. It’s based on fairly unanimous opinions of such respected sources as AmazingRibs.com, CertifiedAngusBeef.com and other. If you do not have a thermometer handy, perform a finger test. The finger test is another somewhat popular technique. I tried it but I could never master it to feel confident enough and have consistent results. I suppose if I made a dozen steaks a day, or even a week, I would. But I don’t. But seriously, spend thirty bucks and get yourself a BBQ thermometer. You’ll thank me later. Here is what rare to medium rare steak pulled at 125F and rested for 10 minutes looks like.
The final rest
Once your steak is out of the oven, let it rest for 5-10 minutes before slicing. This will allow the meat fibers to reabsorb the liquids , which will keep the steak tender and juicy.
This post was updated on November 4, 2018
